
Blacksmith Master Layouts, Warehouse & Logistics
Optimize your Blacksmith Master 1.0 workshop with multi-floor layouts, warehouse restocking fixes, Source vs Destination ingot rules, and iron mine setups.
Eliminate idle smelters and hauling bottlenecks with verified Floor 1, basement, and multi-floor workshop designs, Source/Destination pallet toggles, 1x1 ingot racks, and 1.0 customer-only doors.
Popular Topics in This Hub

Blacksmith Master Best Layout Guide: 1.0 Floor Plans, Smelting, and Shop Setup
Build the Blacksmith Master best layout for 1.0 with multi-floor plans, Source/Destination storage, customer-only doors, and Scholar room tips.

Blacksmith Master Close Shop Guide: When to Restock & Reset Your Smithy
Learn why the Blacksmith Master close shop option matters in 1.0, what Update #14 confirmed, and how to restock racks and fix workflow bottlenecks.
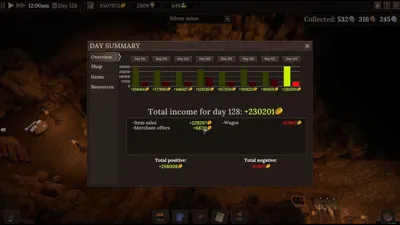
Blacksmith Master Decoration Bonus: Shop & Scholar Room Upgrades
Learn how the Blacksmith Master decoration bonus boosts customer traffic, scales per rack, and differs from Scholar room upgrades in version 1.0.

Blacksmith Master Endgame Layout: 1.0 Floor Plans & Tier 3 Smelters
Optimize your Blacksmith Master endgame layout for 1.0 with multi-floor zoning, Tier 3 smelters, smart storage chains, and congestion fixes.

Blacksmith Master How to Expand Shop: Walls, Floors, Basement & 1.0 Layout Guide
Learn how to expand your shop in Blacksmith Master 1.0: unlock Construction, build walls, add upper floors and a basement, and optimize your layout.

Blacksmith Master How to Use Warehouse: Automate Restocking and Storage in 1.0
Learn how to use the warehouse in Blacksmith Master 1.0, automate assistant restocking, set up source and destination storage, and speed up hauling.
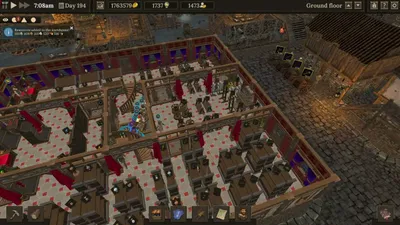
Blacksmith Master Ingot Storage: 1x1 vs 2x2 & Source/Dest Setup
Learn how Blacksmith Master ingot storage works in 1.0: compare 1x1 and 2x2 pallets, set Source and Destination rules, and optimize smelting logistics.
Blacksmith Master Iron Mine Layout: Best 1.0 Setup & Miner Ratios
Optimize your Blacksmith Master iron mine layout for 1.0 with 3x3 rest areas, Stronger Miners, miner-to-carrier ratios, and clean smelting flow.

Blacksmith Master Multi Floor Layout Guide: Floor Zoning, Stairs, and 1.0 Tips
Optimize your Blacksmith Master multi floor layout in 1.0 with proven zoning, centralized stairs, source-destination ingot flow, and bottleneck fixes.

Blacksmith Master Source vs Destination: Ingot Storage & Restock Guide (1.0)
Learn how Blacksmith Master source vs destination ingot storage works, configure Restock Resources assistants, and streamline multi-floor workshops.
Explore Related Wiki Hubs
Guides
Browse Blacksmith Master 1.0 guides covering beginner tips, Mastery Tree unlocks, fast gold strategies, Coin Minting, Trade Routes, difficulty, and endgame.
Crafting
Master Blacksmith Master 1.0 crafting: blueprint unlocks, Level 5 upgrades, Design Table bonuses, Tier 3 Smelters, 12 Item Sets, Siege Machines, and gems.
Fixes
Solve Blacksmith Master 1.0 technical issues fast with verified fixes for stuck workers, basement lag and crashes, Windows save file paths, and Steam Cloud.