
Blacksmith Master Jewelry Guide: Unlocking, Gems, Workstations & 1.0 Tips
Learn how to unlock Blacksmith Master jewelry, source gems in 1.0, build mold smelter lines, and boost shop profits with Master Workers.
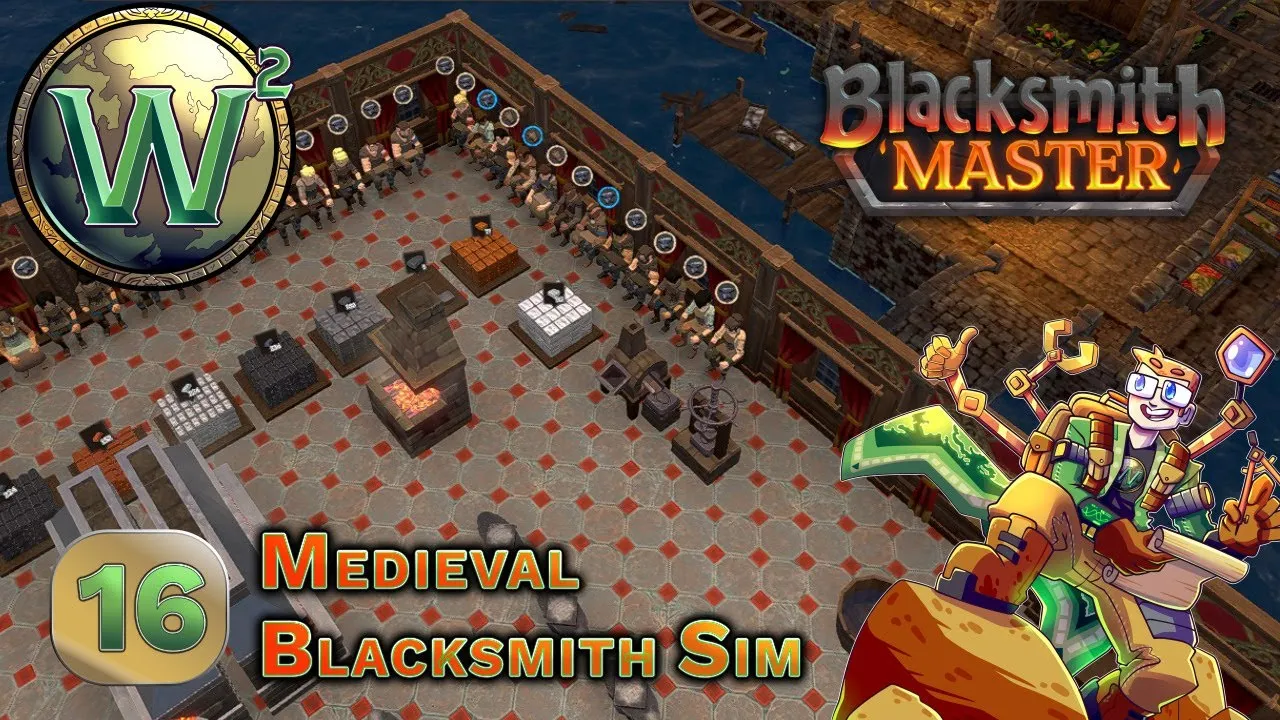
Turning precious metals and rare gemstones into luxury goods is one of the fastest ways to scale shop revenue, which makes Blacksmith Master jewelry a high-priority goal for growing workshops. Following the full 1.0 release on November 19, 2026, major additions like Master Workers and Common-to-Mythic Item Tiers reshape how you gather gems, upgrade blueprints, and keep shelves stocked. Whether you are starting a new run or carrying an Early Access save into version 1.0, this guide breaks down how to unlock Blacksmith Master jewelry, build reliable material pipelines, organize your crafting floor, and maximize profits.
How to Unlock Blacksmith Master Jewelry
Unlocking Blacksmith Master jewelry begins in the Mastery Tree, and progression is far more flexible than it was at Early Access launch. In the Update #9 Mastery Tree overhaul on Steam, fixed shield currency costs were removed completely. Instead, you complete a single active milestone goal—such as crafting 10 items of common or higher quality—to unlock any connected mastery node whose prerequisites are met.
That rework specifically lets you rush jewelry early if you want to build your smithy around luxury goods, or rush the Silver Mine before expanding other branches. However, unlocking the Jewelry mastery node only opens the category and its workstations. Individual recipes for rings, necklaces, bracelets, and other pieces still require blueprints earned from Merchant Offers and claimed inside the Blueprints menu.
Version 1.0 also introduces Common-to-Mythic Item Tiers, as detailed in the Blacksmith Master 1.0 preview announcement on Steam. Higher-tier items sell for significantly more gold, yet they demand higher-tier materials and steady operational budgets. Rushing jewelry too aggressively without stable ore smelting and daily cash flow can strain your wages, so balance your Mastery Tree path against your raw resource output.
| Update / Version | Official Change Affecting Jewelry | Practical Impact on Your Smithy |
|---|---|---|
| Update #05 | Added jewelry to advanced Merchant Offers; fixed gem storage redistribution; added 1x1 ingot storage | Lets you profit from jewelry contracts and rearrange gem storage safely |
| Update #06 | Added 2- and 3-ingot smelters, Stronger Miners, and source/destination ingot storage toggles | Reduces precious-metal smelting delays and separates smelter output from workshop bins |
| Update #09 | Removed shield prices from the Mastery Tree in favor of single milestone goals | Lets you rush the Jewelry mastery node or Silver Mine early in a playthrough |
| Version 1.0 | Added Master Miner, Master Scholar, Master Assistant, Master Cashier, and Common-to-Mythic Item Tiers | Enables direct gem mining, a 5th blueprint upgrade level, and Tier 3 smelters |
Where to Get Gems and Precious Metals in 1.0
High-end Blacksmith Master jewelry depends on two distinct supply chains: precious metals (silver and gold) and gemstones. Before version 1.0, players relied primarily on Trade Routes to acquire gems. According to player experience, unlocking the Gem Mine trade route requires fulfilling pickaxe and shovel deliveries that use standard materials rather than rare late-game goods, making gems accessible earlier than gold.
Version 1.0 changes gem sourcing dramatically with the introduction of Master Workers (limited to one of each of the six types). Hiring the Master Miner lets you discover gems directly while mining, creating a built-in supply for crafting alongside extra shop income. Official 1.0 notes confirm this mechanic, though exact gem drop rates per mine or mining trip are not published in the official patch documentation.
For precious metals, the official guide notes four metal types—Iron, Copper, Silver, and Gold—each smelted into three ingot sizes that require dedicated smelting assignments and storage pallets. Player experience highlights two practical progression details:
- Silver and Sterling Silver: Early jewelry blueprints such as silver bracelets use larger sterling silver ingots (smelting your first sterling silver ingot unlocks the “Sterling Standard” achievement).
- Gold Mine Prerequisites: In player experience, unlocking the Gold Mine trade route required hunter bows crafted from birch wood, which first required black painted pottery to unlock the Birchwoods route.
- Trade Route Control: As recommended in the official Blacksmith Master Beginner’s Guide on Steam, toggle Trade Routes off whenever your stocks are full so blacksmiths do not stall shop production chasing unnecessary outgoing orders.
- Ducat Upgrades: Update #10 added Coin Minting (copper, silver, or gold ducats across five machine levels), allowing you to spend ducats on upgrading mines and trade routes to keep precious ore and gems flowing.
| Material | Primary Source(s) | Key Supply Tip |
|---|---|---|
| Gems (Early/Mid-Game) | Gem Mine via Trade Routes | Fulfill pickaxe and shovel orders; disable the route once stockpiled |
| Gems (Version 1.0) | Direct mining via the Master Miner | Hire as soon as eligible to supplement Trade Routes and boost income |
| Silver & Sterling Silver | Silver Mine + smelting assistants | Assign dedicated assistants per ingot size and unlock multi-ingot smelters |
| Gold Ingots | Gold Mine Trade Route + smelting | Prepare wood and pottery prerequisites first if targeting gold recipes |

Blacksmith Master - Jewelry - Let's Play - Episode 16
Setting Up Your Blacksmith Master Jewelry Production Line
Once you unlock Blacksmith Master jewelry and claim your first blueprint, you need dedicated crafting stations under the Construction tools menu. Based on player experience, the jewelry workshop relies on three core pieces of equipment placed close together:
- Mold Smelter: Melts precious metal ingots into complex shapes used specifically for jewelry.
- Press: Applies the finishing touches to the hot metal jewelry pieces.
- Water Buckets: Required nearby because hot jewelry components must be cooled during production.
Player experience demonstrates that Mold Smelters and Presses work quickly and operate at roughly a 1:1 ratio. Placing only two Mold Smelters and two Presses immediately caused worker queues once several blacksmiths shifted to jewelry, so reserve space for a paired row of stations and multiple water buckets from day one. Keeping walking aisles open between rows—and letting version 1.0’s free-angle NPC pathfinding smooth out diagonal movement—cuts travel waste noticeably.
Smart storage placement prevents your jewelry crafters from standing idle. Thanks to Update #05 on Steam, multiple blacksmiths can pull from ingot storage simultaneously without queuing, and compact 1x1 ingot pallets fit easily beside tight crafting rows. Pair that with Update #06’s “source” and “destination” toggles: mark pallets near your smelters as sources and compact 1x1 pallets beside your Mold Smelters as destinations so assistants running the unified “Restock resources” duty haul sterling silver and gold upstairs automatically.
| Station or Storage | Role in Jewelry Production | Layout and Scaling Advice |
|---|---|---|
| Mold Smelter | Casts ingots into complex jewelry shapes | Match roughly 1:1 with Presses; expand past two early to stop queues |
| Jewelry Press | Finishes hot metal pieces into completed jewelry | Face directly toward Mold Smelters with short walking clearance |
| Water Buckets | Cools hot metal pieces during crafting | Place at least two buckets right next to the Mold Smelter and Press cluster |
| 1x1 Ingot & Gem Storage | Supplies precious ingots and gemstones to smiths | Use destination toggles near tools; Update #05 fixed gem redistribution bugs |
| Jewelry Display Racks | Displays finished jewelry on your retail floor | Select specific jewelry blueprints on the rack and assign rack-filling assistants |
Upgrading Blueprints and Maximizing Jewelry Profits
Base jewelry already commands strong prices, yet the real profit spike comes from upgrading recipes through Scholars and Design Points. Following Update #08’s design rework, dedicated Scholars work at Design Tables to generate Design Points. Placing two Design Tables adjacent activates their collaboration bonus, and surrounding them with the six design space upgrades—including lights, plants, bookshelves, and chalkboards—accelerates output even in compact rooms.
Blueprint upgrade costs scale by 4x at each rarity step from Common through Legendary. In version 1.0, hiring the Master Scholar unlocks a 5th upgrade level for every blueprint, raising selling prices one more time (official preview notes do not list the exact Design Point price for that 5th tier). In an Early Access player experience run, upgrading silver bracelets to Legendary pushed their price to 1,070 coins—making them the second priciest item in that player’s shop—though exact earnings in your save will depend on your Difficulty Setting and 1.0 Item Tiers.
| Blueprint Upgrade Step | Design Point Cost | Requirement / Version Notes |
|---|---|---|
| Common to Uncommon | 100 Design Points | Standard Scholar design table generation |
| Uncommon to Rare | 400 Design Points | 4x scaling; benefits from adjacent Scholar collaboration |
| Rare to Epic | 1,600 Design Points | Decorate Scholar rooms with lights, plants, and bookshelves |
| Epic to Legendary | 6,400 Design Points | High sale value; silver bracelets hit 1,070 coins in Early Access player experience |
| 5th Upgrade Level (1.0) | Not published in official notes | Requires hiring the Version 1.0 Master Scholar |
Beyond upgrades, actively tune how you sell Blacksmith Master jewelry. Update #11 introduced Custom Item Prices with 2x demand elasticity: raising a price by 10% lowers customer demand by 20%, while lowering a price boosts demand at double the rate. If shelves keep emptying—player experience notes jewelry pieces look small on racks and can vanish fast during rushes—assign extra blacksmiths to “Craft for Racks,” add rack-stocking assistants, or use Update #14’s manual shop closure option to reset and fully restock displays before opening.
Do not ignore Merchant Offers either. Update #05 updated Merchant Offers to request advanced items like jewelry, shields, and weapons instead of favoring low-tier goods. Completing high-tier jewelry offers earns gold alongside extra blueprints, elite workers, and shop decorations, which further raise your store’s daily customer attraction.
Best Version 1.0 Master Workers and Staff Setup for Jewelry
Scaling Blacksmith Master jewelry alongside weapons, pottery, and version 1.0’s 100-piece Siege Machine orders puts heavy pressure on mining, smelting, and checkout lines. Four of the six 1.0 Master Workers directly reinforce a jewelry-focused workshop:
- Master Miner: Finds gems while mining, reducing dependence on Trade Routes and offsetting late-game supply costs.
- Master Assistant: Unlocks Tier 3 smelters to handle the massive ingot appetite of late-game workshops—especially important when sterling silver, gold, and steel compete for smelter time.
- Master Scholar: Unlocks the 5th blueprint upgrade tier, pushing top jewelry recipes to their highest possible selling price.
- Master Cashier: Stops customers from ever losing patience in checkout queues, protecting high-margin sales during peak foot traffic or positive Random Events.
To keep staffing manageable as your workforce grows, open the Staff menu in Update #15’s list view and use multi-edit checkboxes to reassign smelting assistants or switch experienced blacksmiths to “Craft for Racks” or “Most Expensive First” in seconds. Update #10 also shrank mine rest areas from 4x4 to 3x3, helping you fit more miners into silver and iron mines when ore reserves dip.
Finally, protect your top crafters under Update #13’s five-factor Worker Happiness system: working hours, salary bonus, job security, comfortable seating, and food and drinks. Happy workers level up faster and suppress their negative traits, whereas unhappy staff lose positive traits and may quit outright. Remember that under Update #11’s Normal and Hard difficulties, workers hit lower maximum level caps than in Relaxed mode, so prioritize walking speed on smelting assistants and match blacksmith stat upgrades to their strongest traits.
Frequently Asked Questions
Can you rush Blacksmith Master jewelry early in a new save?
Yes. Update #09 replaced fixed shield prices in the Mastery Tree with single milestone goals, allowing you to unlock any connected node once its prerequisites are finished. That lets you rush Blacksmith Master jewelry or the Silver Mine early, though version 1.0’s Common-to-Mythic Item Tiers mean you should make sure your smelting and daily budget can cover high-tier materials before scaling up.
Where do gems come from in Blacksmith Master 1.0?
Gems come from two verified sources. First, you can unlock the Gem Mine through Trade Routes—player experience indicates this route asks for standard pickaxes and shovels without special resources. Second, in version 1.0, hiring the Master Miner allows miners to find gems directly during mining. Exact Master Miner gem drop rates are not specified in official patch notes.
What workstations do you need to craft jewelry?
Based on player experience, crafting jewelry requires Mold Smelters to cast ingots into intricate shapes, Presses to apply final touches to the hot metal pieces, and Water Buckets nearby for cooling. You will also need jewelry racks on your retail floor and assistants assigned to keep both crafting bins and display racks stocked.
Are all jewelry blueprints and 1.0 recipe numbers officially documented?
No. Official 1.0 announcements confirm Master Workers, Common-to-Mythic Item Tiers, 36 new Set Items unlocked through Siege Machine orders, and a 5th blueprint upgrade level via the Master Scholar, while leaving out a full item-by-item jewelry recipe list and exact 5th-tier Design Point costs. All Early Access saves are fully compatible with version 1.0, so existing workshops can unlock these additions without starting over.
Related guides: Siege Machines Guide · All 12 Item Sets · Tier 3 Smelters · Crafting & Blueprints Hub
Related Articles
community
Blacksmith Master Discord: Official Invite, Dev Feedback & 1.0 Hub
Join the official Blacksmith Master Discord for 1.0 layout tips, bug reports read by solo dev Luka, and verified links to the wiki and Reddit.
community
Blacksmith Master Mods Guide (1.0): Nexus Tools & Vanilla Options
Check Blacksmith Master mods status in 1.0, popular Nexus Mods QoL tools, BepInEx update risks, and built-in vanilla features worth using.
community
Blacksmith Master Reddit: Official Subreddit & 1.0 Community Builds
Find the official Blacksmith Master Reddit hub at r/Blacksmith_Master, explore 1.0 build discussions, and use official wiki and Steam guides.
Was this helpful?
Thanks for the feedback!